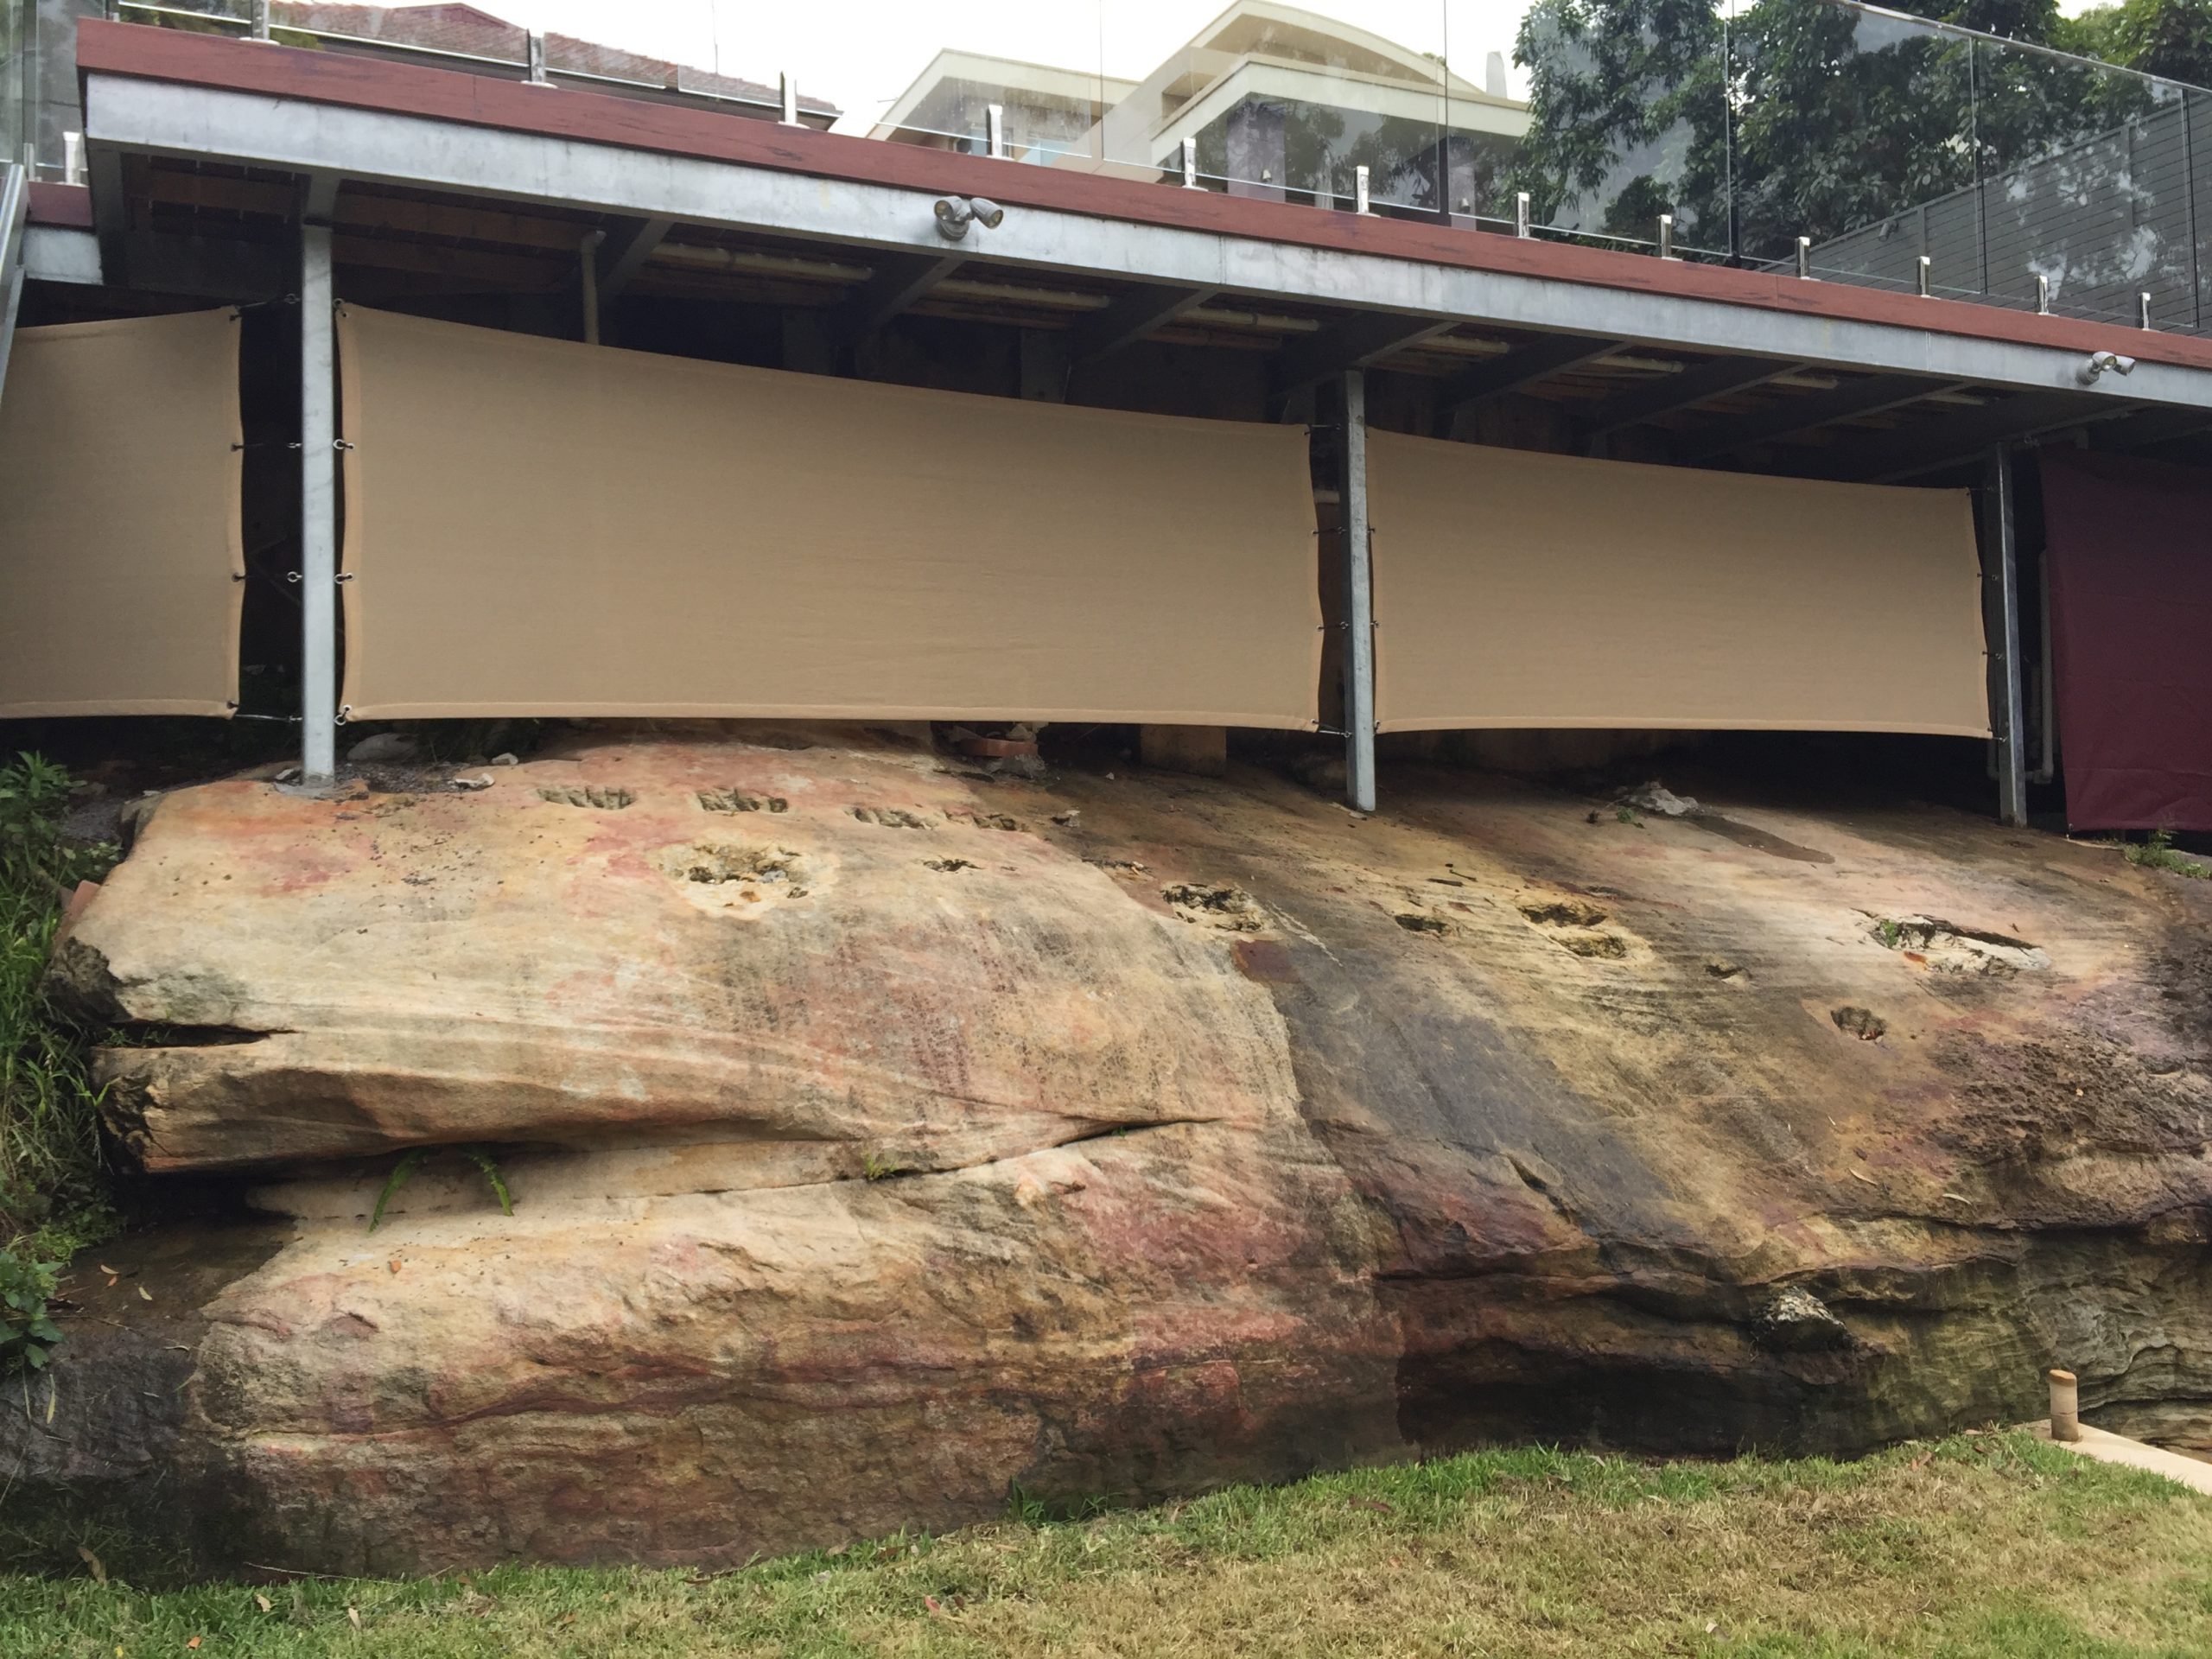
Privacy or security
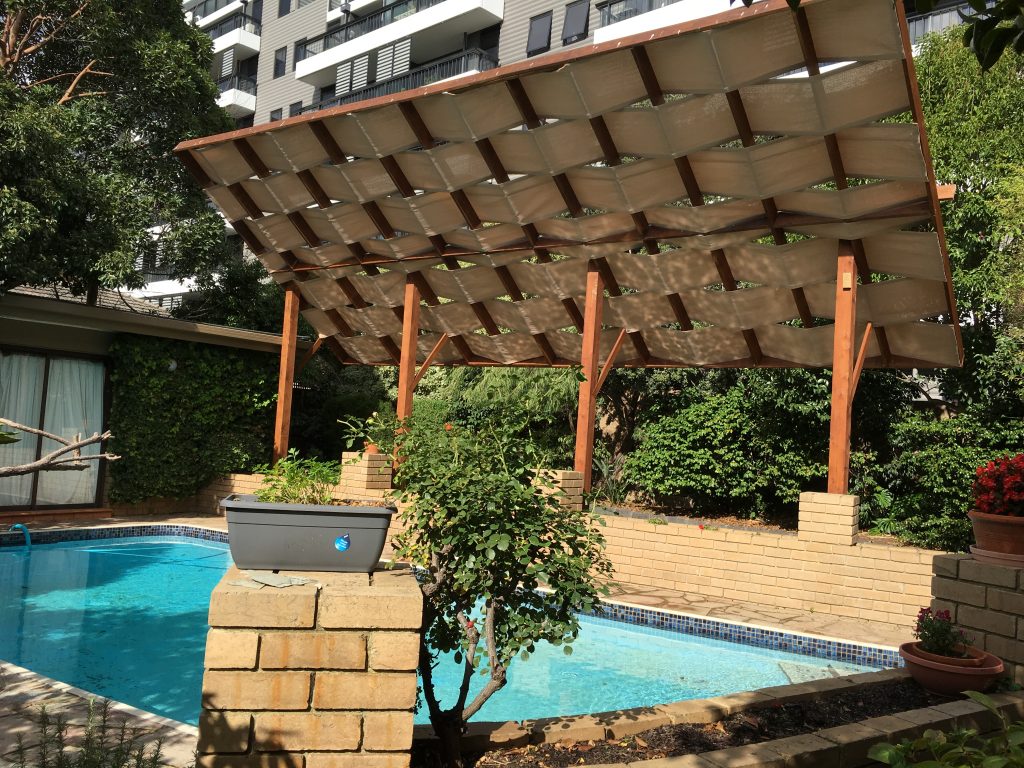
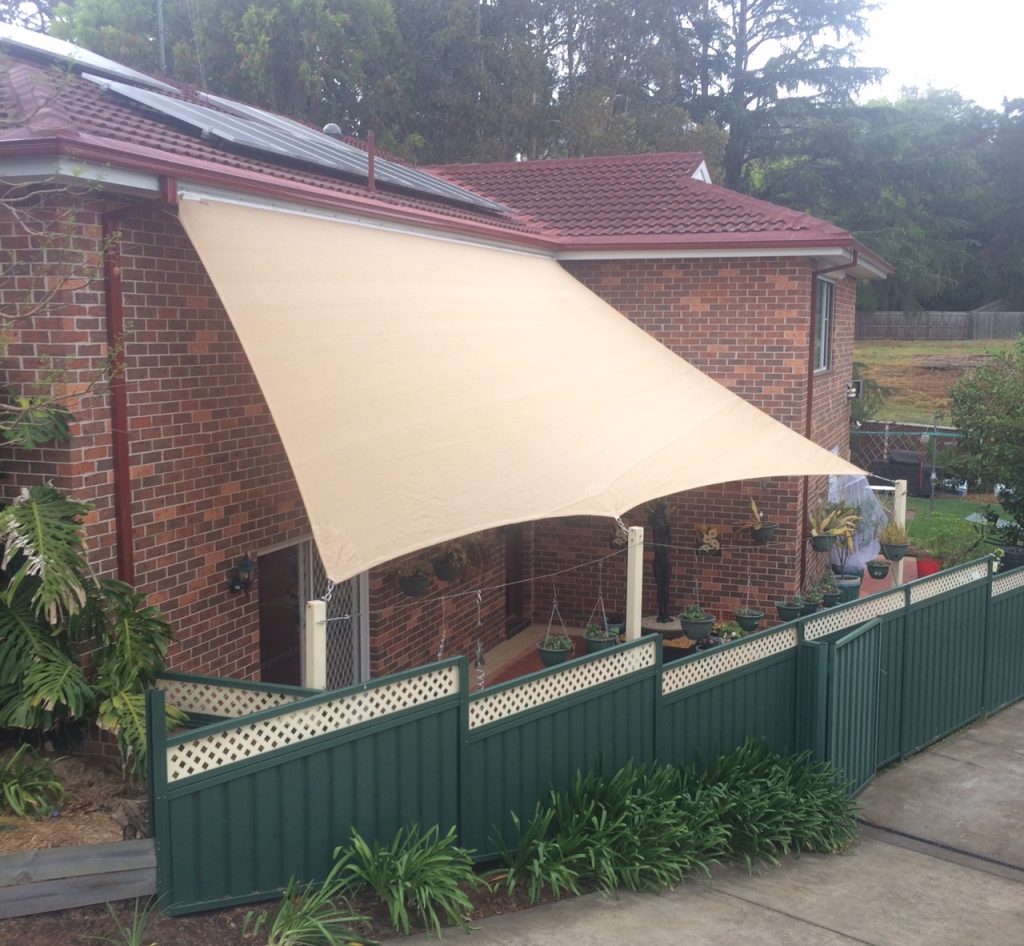
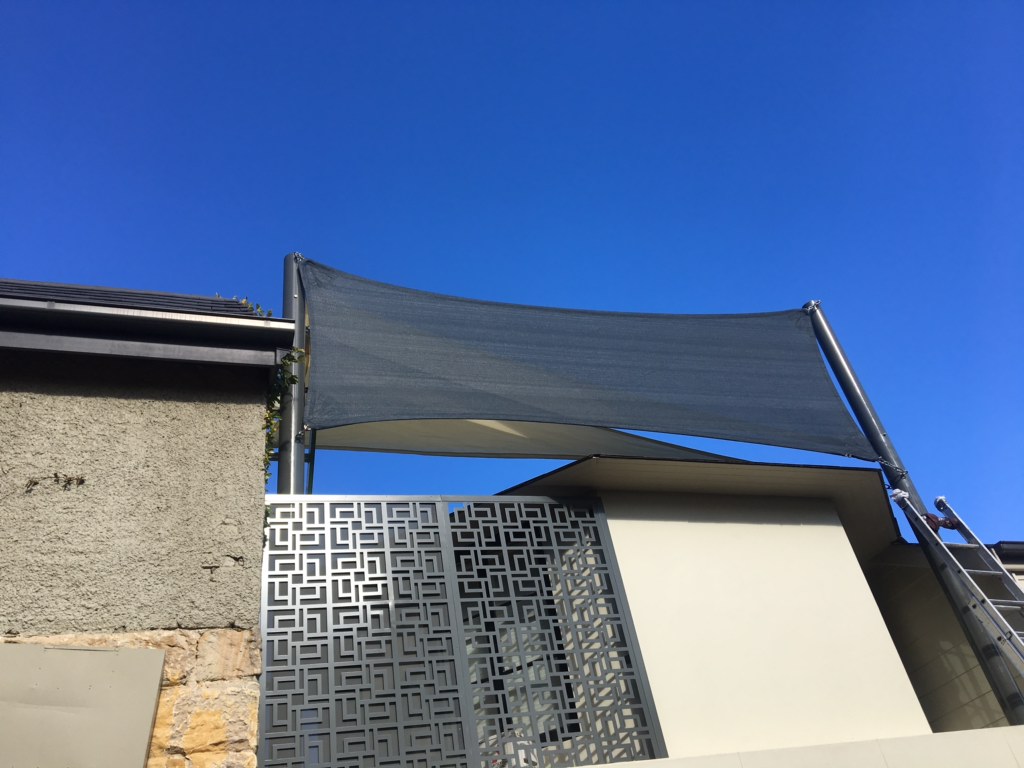
- In commercial applications they are often around fences to stop people seeing into the site
- In domestic they can be used to stop neighbours looking into your yard
- We are often asked to do these on garage lock ups to prevent neighbours seeing what you have stored.
Visual
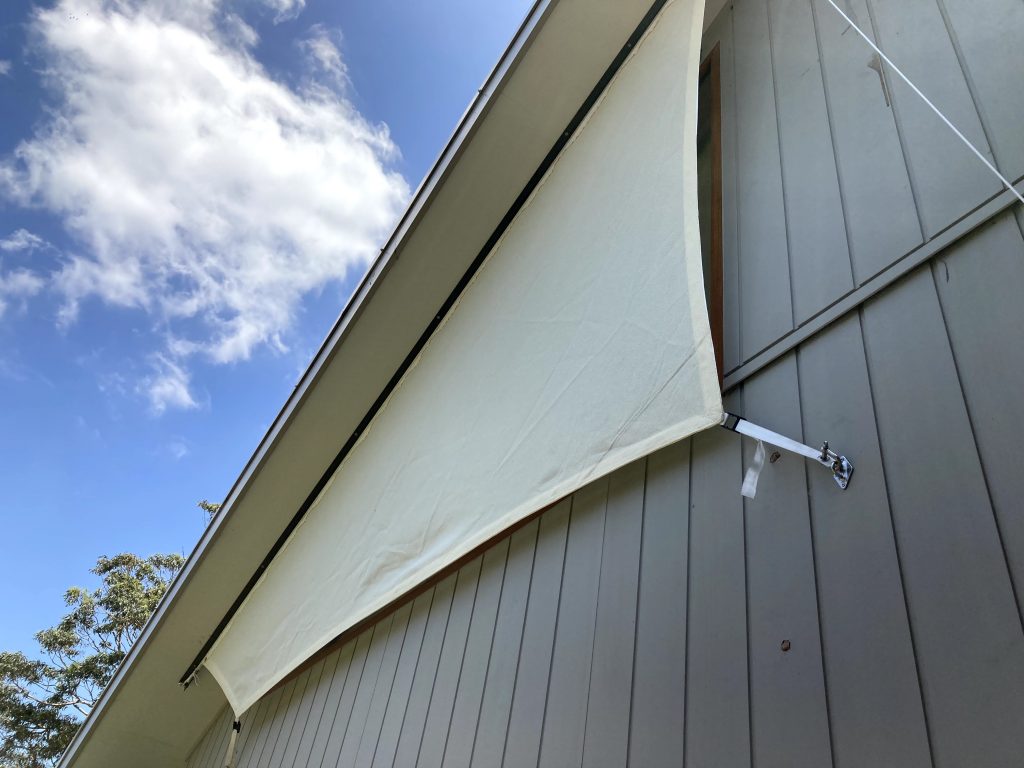
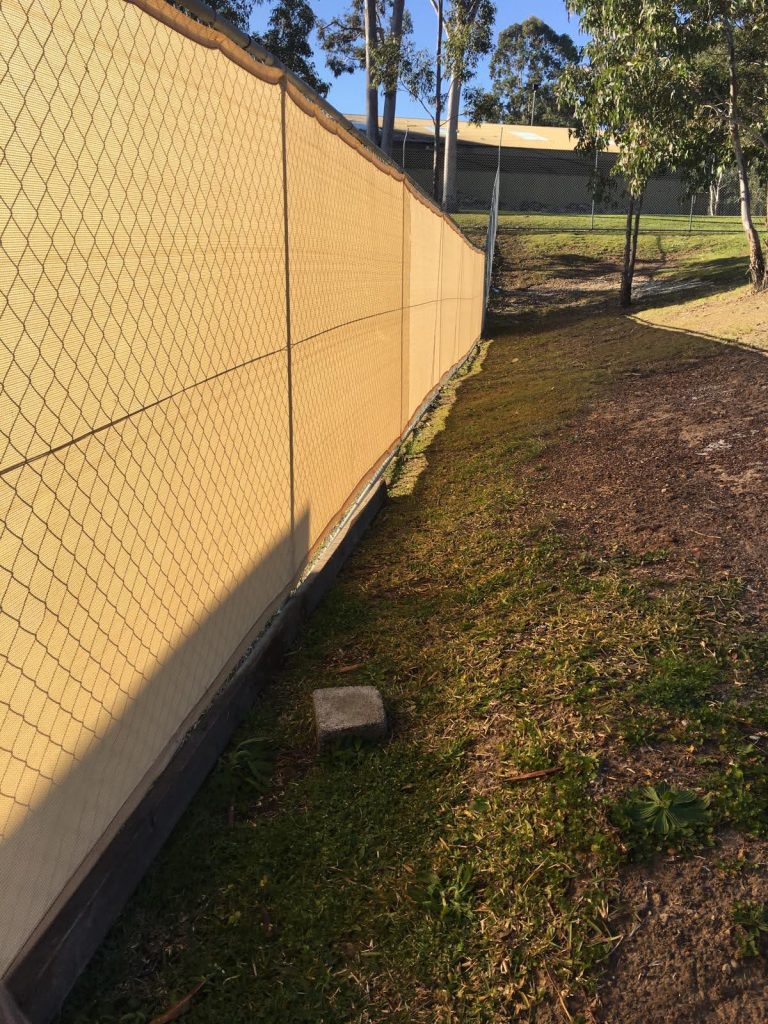

- Commercial to reduce the visual impact of construction sites
- Domestic used to hide ugly chain fences or block out a particular view
- To hide ugly structures
Dust/Dirt protection
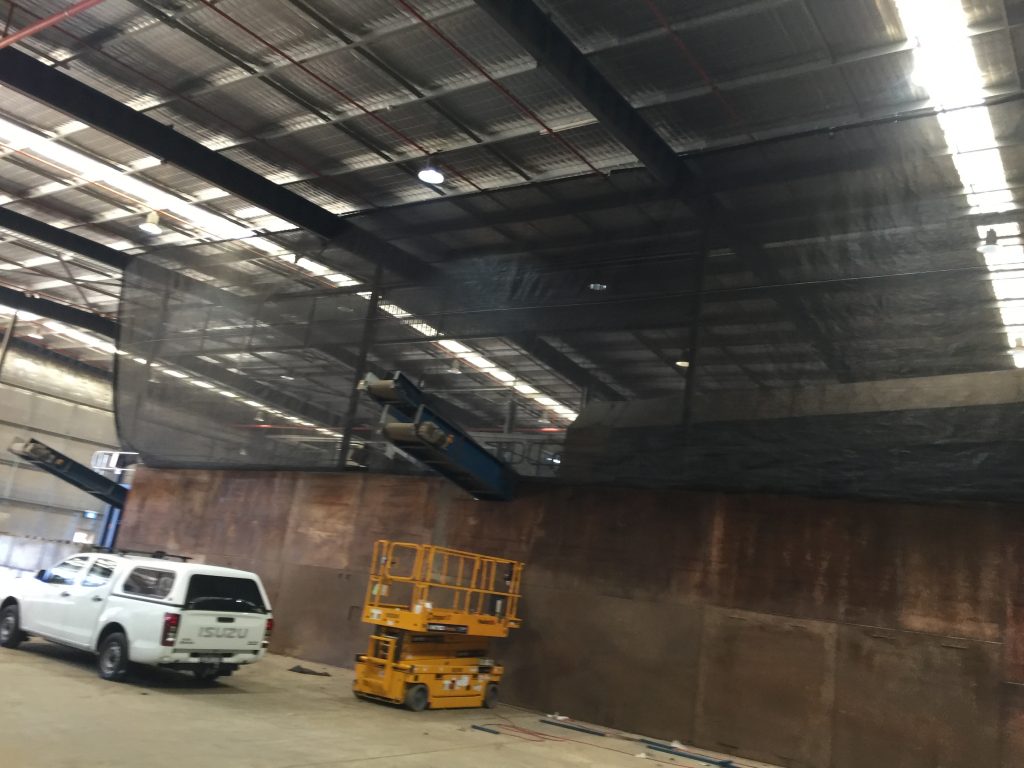
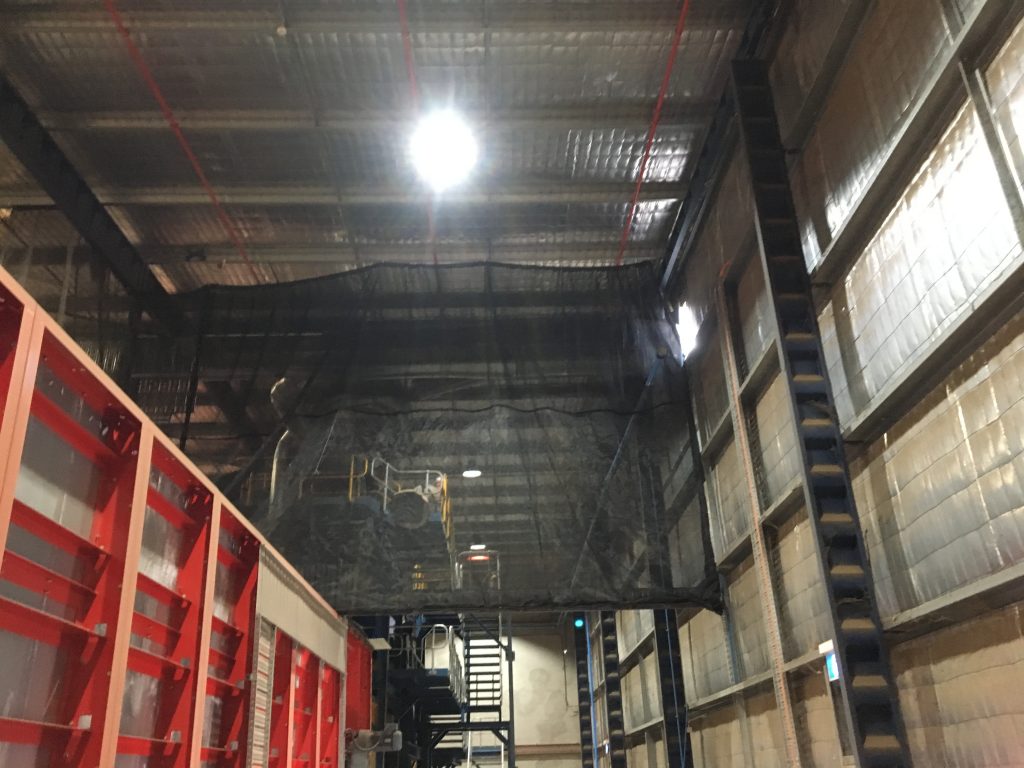
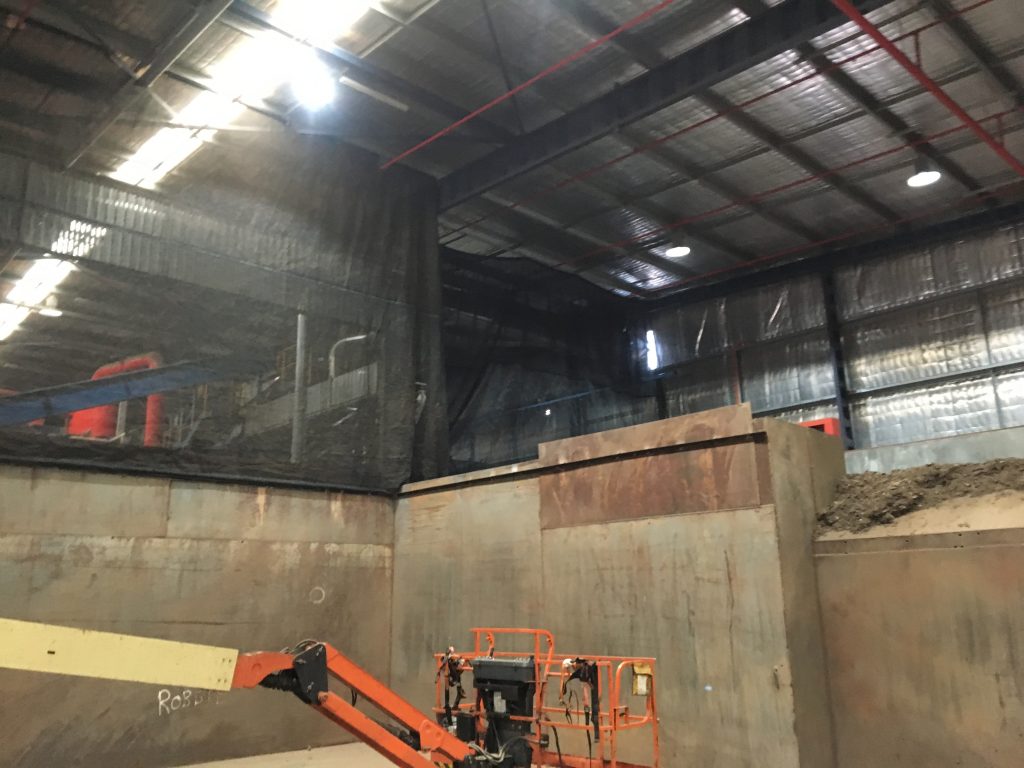
- Commercially often used to reduce dust or dirt moving around or off a sit
- This will often work better than a solid fence as the air goes through the screen and the particles get trapped in the weave
Weather Protection
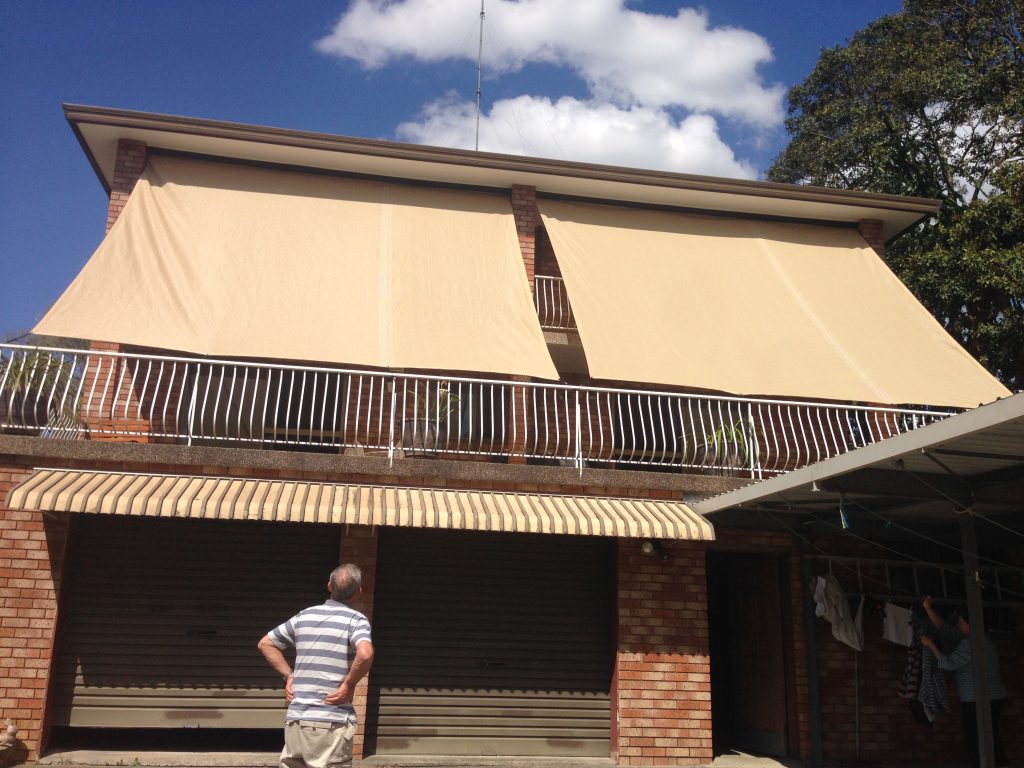


- Provides protection and shelter against wind/rain and reduces the impact on yards
- Keeps areas cooler in the summer and warmer in the winter
Materials:
- The most common material used is shade cloth but in some circumstances a Poly or PVC solution can be used to provide a weather block/total visual block barrier
- In general the idea is to reduce what can be seen though it at various distances and how much you want to block out will determine what type of cloth you use with the most common being the 90% or commercial grade shade cloths
Construction:
- Edge types can vary from hems with eyelets, webbing tape edges or even pockets with Steel Wire Rope
- Wind holes (a half circle flap cut in the cloth) is often used on large lengths to reduce the wind load on the cloth and fence
Installing Shade Cloth Covers
Important information about installing shade cloth fence covers
Shade cloth stretches/shrinks and changes shape due to a variety of reasons (for example if you pull it lengthwise it shrinks width wise and visa versa). In addition it is ideal to stretch it when installing so you have a tight fitting when finished.
The stretching/shrinking can cause problems when installing to an exact dimensions (especially when over a long distance). Basically you need to really be applying tension in all 4 directions at once. The method described below is how we found the easiest way to install them when securing off to eyelets.
Guide for best installation:
This is based on the longest edge being the critical length. (also usually works out easier this way)
- Temporarily secure 1st Edge
- Temporarily secure the opposite edge (you may need a little tension).
- Secure and lock off the top
- Secure and lock off the bottom (this is usually where the most tension is needed).
- Lock off the first edge (the connection points may have moved slightly as the tension is applied in the other direction)
- Lock off the last edge

